Monday, August 21, 2006
Wow - that was ALOT of work
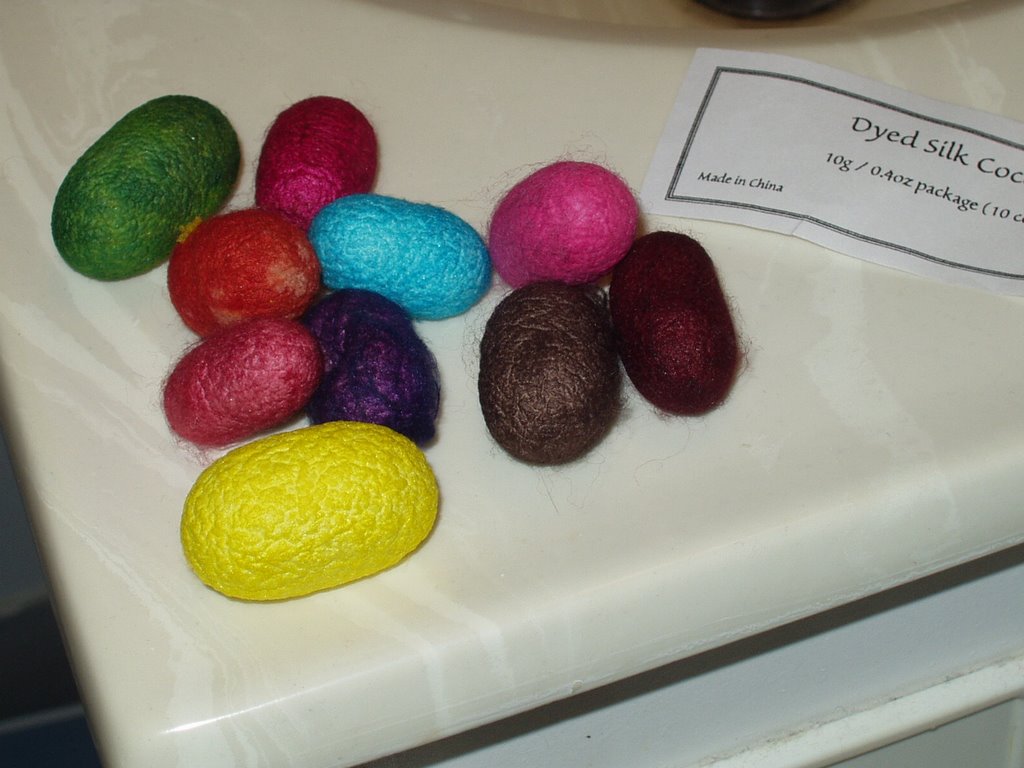 I picked up some cocoons a month or so ago at Knit Knackers as something fun to try. I finally got to it tonight and man, it was so much work.
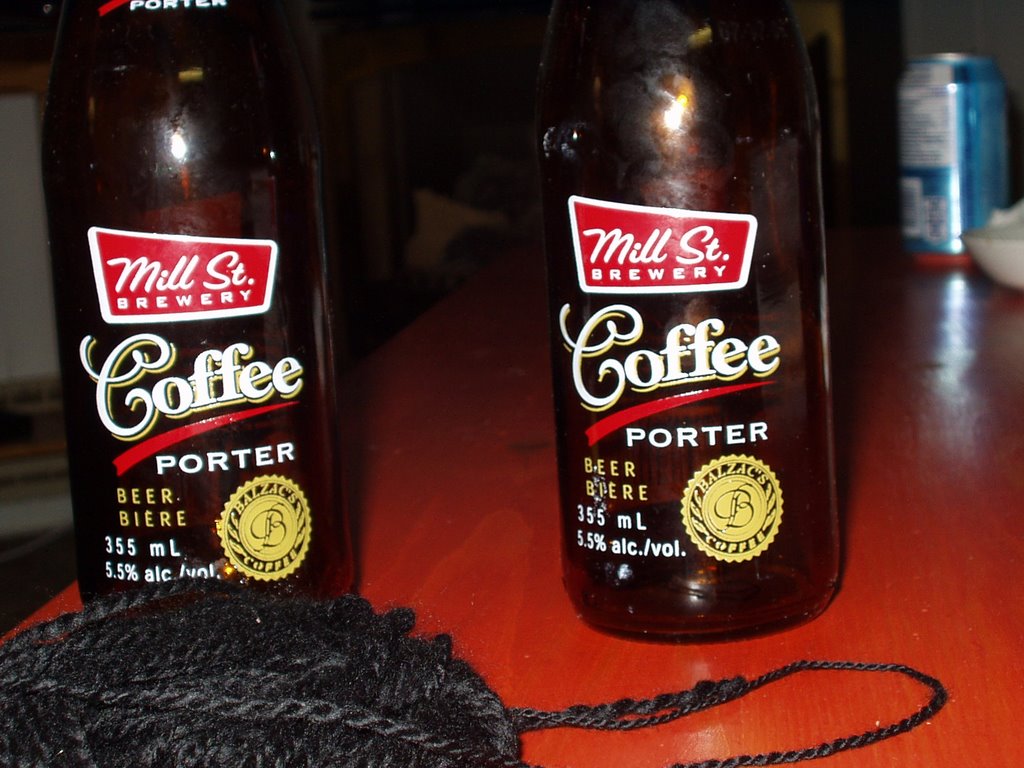
I should preface this entry by saying I finished about 60min ago and have since rewarded my self with these. I guess you may say I'm a little tipsy while typing but hopefully this won't turn out too bad.
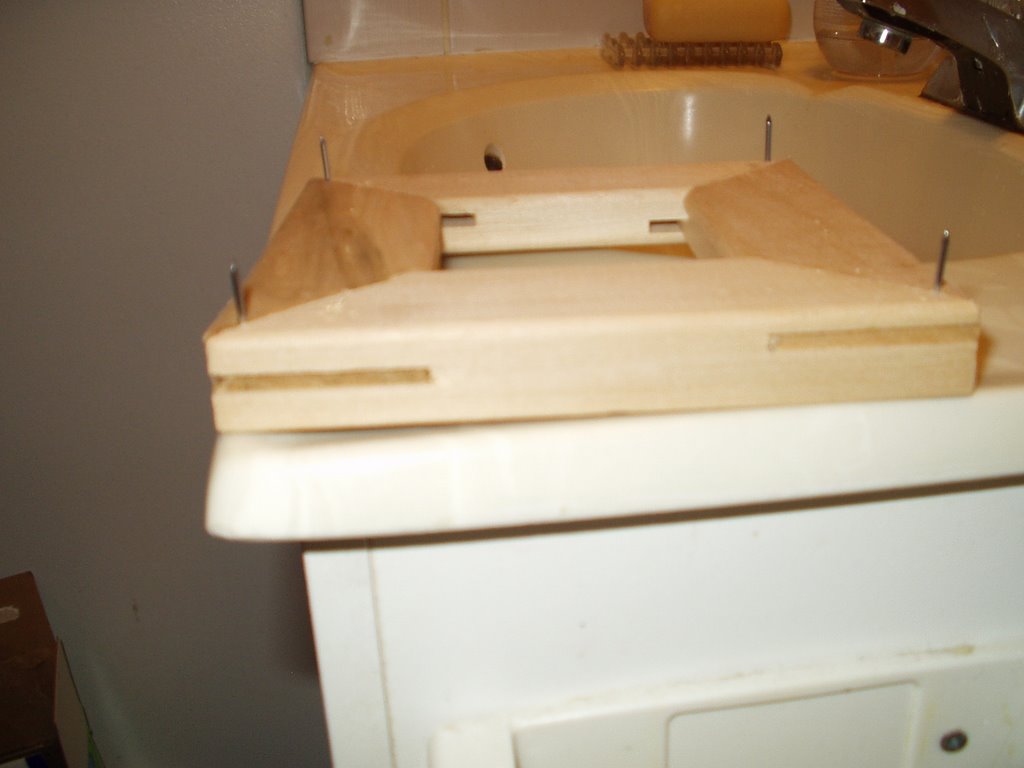 I made this frame out of a 6" square canvas frame that cost me all of a couple of bucks. I removed the staples that were holding on the canvas and put four nails through the corners.
Following the instructions (as best I could with my equipment) from www.wormspit.com I soaked the cocoons in hot water with washing soda for 45 min to 1 hour (replacing the hot water every 15 min or so) and it was still a struggle to open them up. I think if I were to do this again (not looking good right now) I would pick up a cheap crock pot or hot plate to keep things a little warmer.
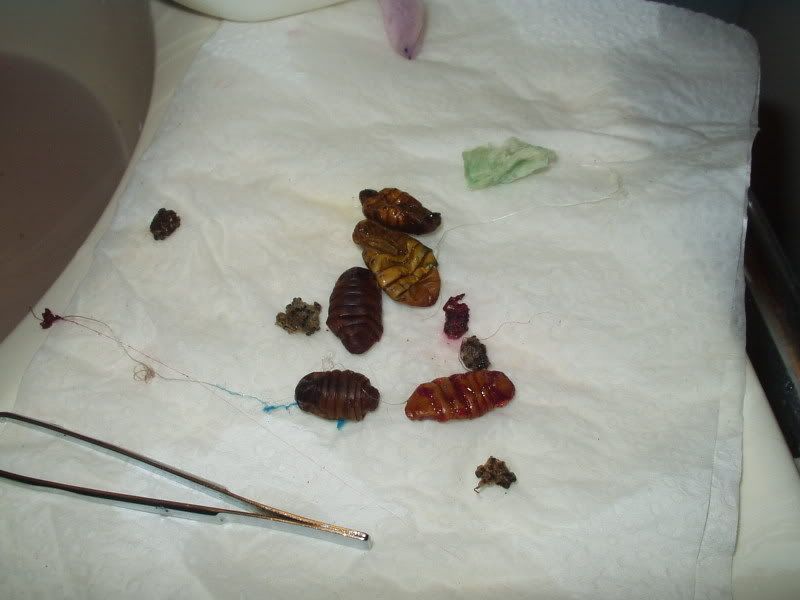
I eventually was able to wiggle open one end of each of the cocoons and take out the little guys (linked picture - do not click if you do not want to see dead pupa). It wasn't too bad. I kinda like knowing where my product comes from and acknowledging exactly what I am doing when I work with silk. I'm wierd that way - I also find some satisfaction in making a thanksgiving turkey and really dealing with a carcas and knowing that I'm taking life to support my own. I should explain that better - I don't necessarily like taking life for my own benefit but if I choose to do so I don't want to hide from what I am doing.
I found that with the majority of the cocoons I had to remove the cradle (more solid part of the cocoon that the worm spins to protect itself. From my understanding most hankies include this part but I just couldn't get it to spread out you can see a couple in the linked pic). Once the cradle was removed it wasn't too too hard to spread them out on my homemade frame. I did have to work the silk alot to get it to spread out - I was teasing out the solid bits so that they would be as evenly spread as possible.
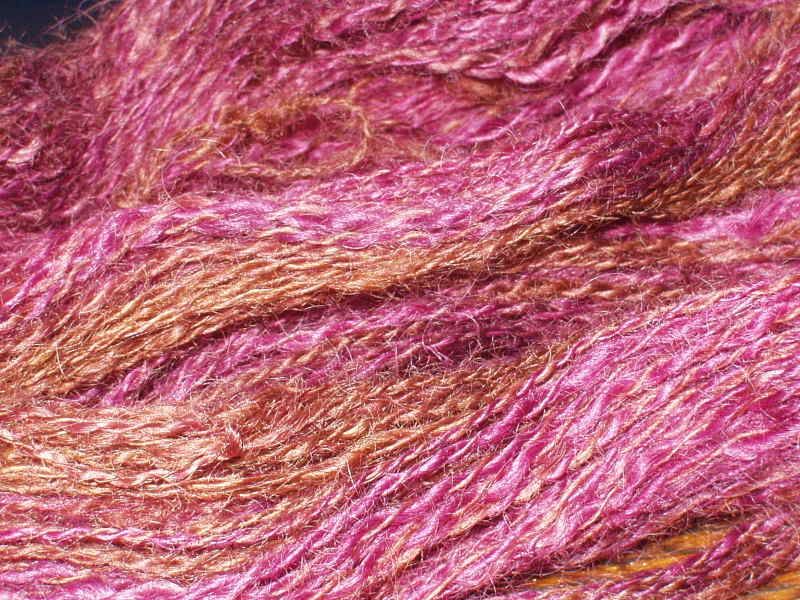
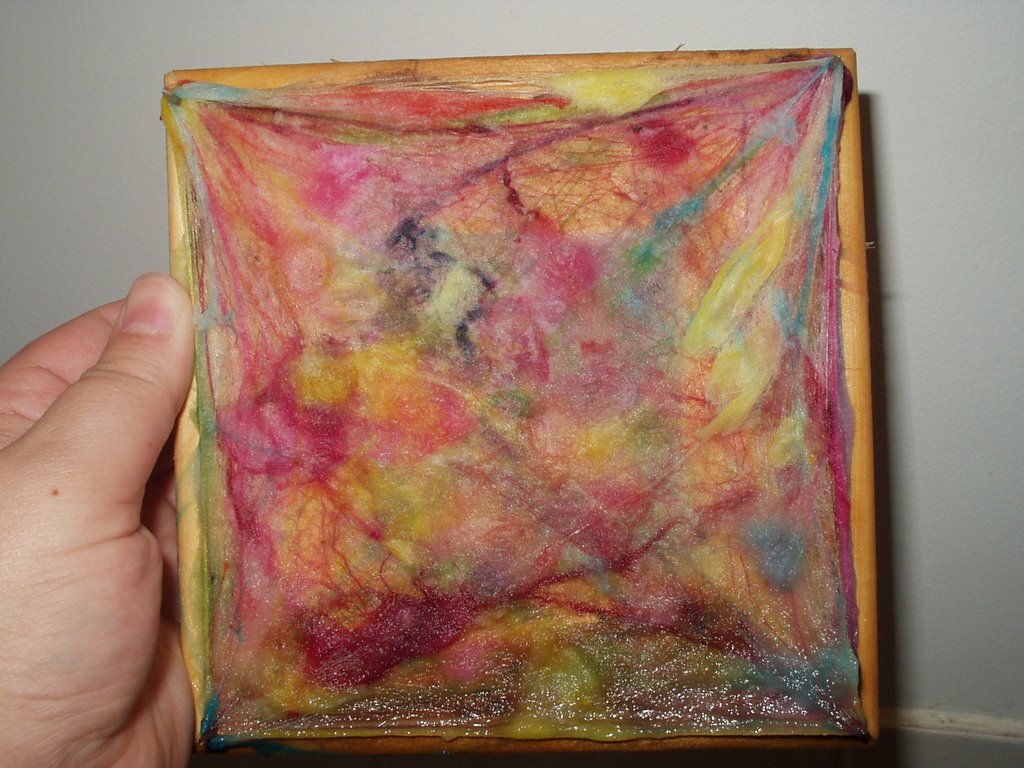 Here are the final hankies that have been rinsed in lemon juice (no vinegar in the house) and then in a very light soloution of fabric softener to give them a better handle once they are dry.
I bought these pre-dyed but if I repeated this exorcise I would just get natural ones. The dye really only stuck to the outter layer of the cocoon and I think I'm going to see alot of white when I get around to spinning these.
I'm glad that I did it but until and unless I get some better equipment I don't think I will try this again. It was very difficult. I think I will have rough spots on my fingers from working against the silk to spread it out. I couldn't knit tonight after working with the silk.
Hopefully this isn't full of typos - please forgive. I rarely drink unless I think I deserve a reward for a job well done.
# posted by Sner @ 9:43 p.m. 
Comments:
<< Home

They look good! I've never seen it done with pre-dyed cocoons; it's interesting to see how that comes out.
Very cool Sner!
I liked seeing someone 'real' like me trying this out!
But, it does look like a lot of work.
Post a Comment
I liked seeing someone 'real' like me trying this out!
But, it does look like a lot of work.
<< Home
![]()
